Paint Process
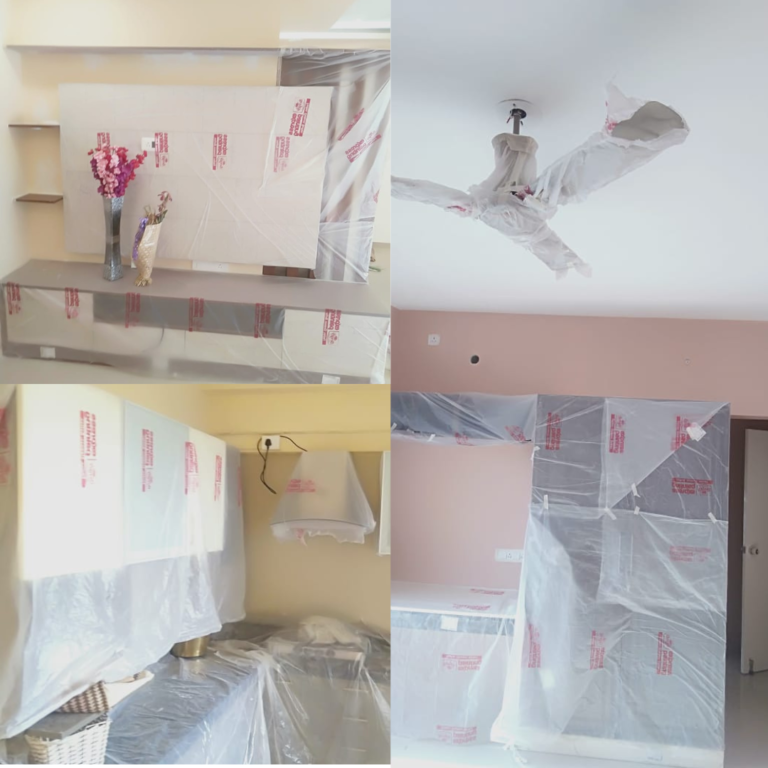
Step-1: Masking and Packaging
Before Initiating painting, we ensure that all your valuable goods (sofa, beds, TVs, Refrigerator, etc.) are protected by packaging and masking.
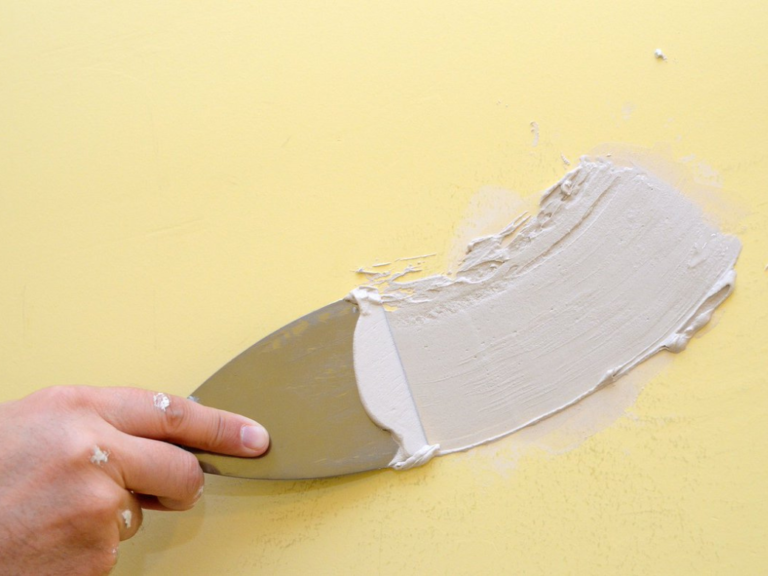
Step 2: Putty Base (2coat)
Filling visible cracks of walls and applying 2 coat of Birla putty on the walls to make the wall smoother before applying the primer coat.
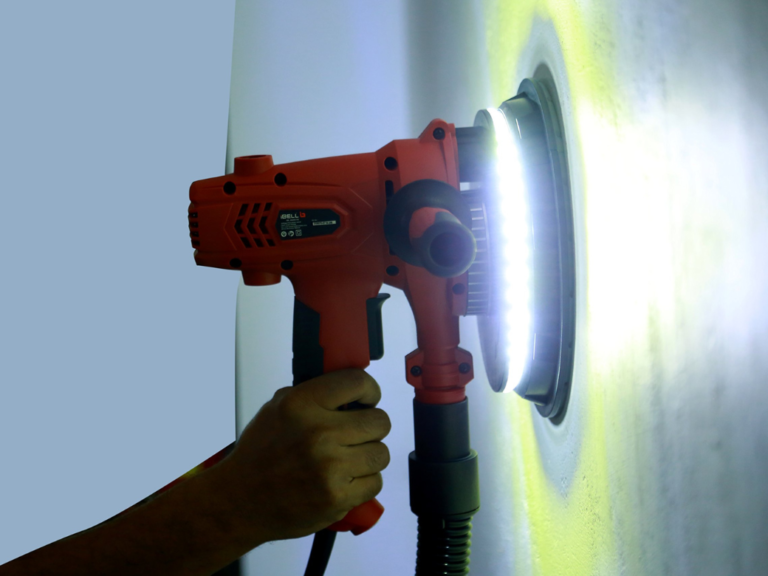
Step 3: Vaccum Sanding
By using the Vaccum Sanding machine, we ensure the wall is evenly smooth and also reduces dust particles by 70%.
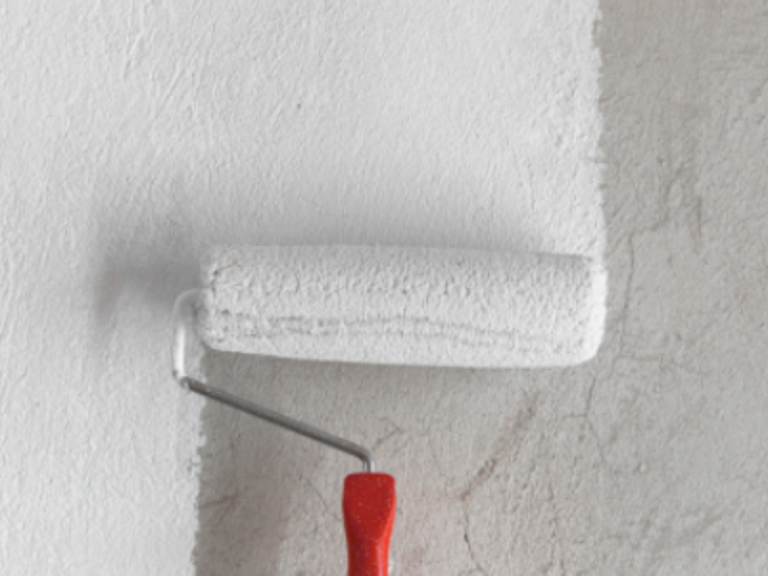
Step 4: Applying Primer Coat ( 1 Coat )
Primers help the paint stick to the surface, and thus improves paint coverage and create a uniform appearance in terms of colour and sheen. Priming can never be skipped, when using paints with a higher gloss. It is always advisable to use primer, as it increases the durability of the paint. After priming, the surface has to dry naturally for a day, before painting it over.
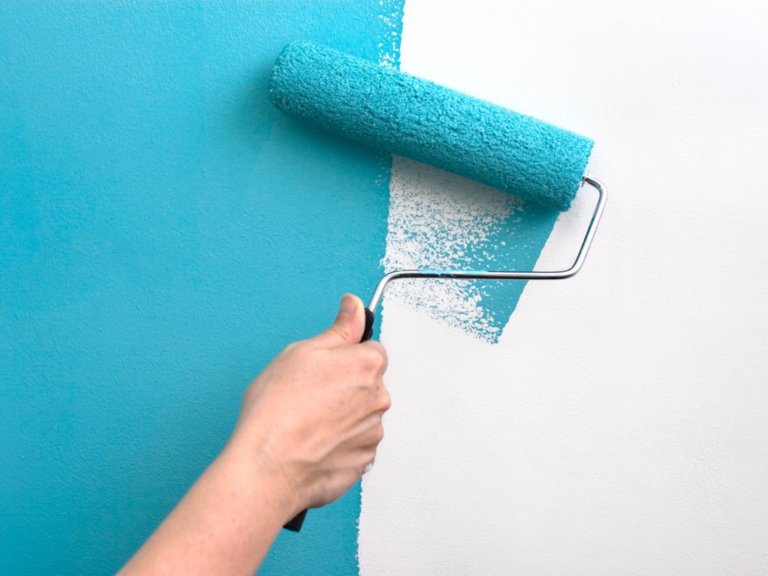
Step 5: Applying Paint ( 2 Coats )Paints produce that final finish and colour to the surface.
Before deciding on the product, end requirements in terms of functionality and appearance must be considered. Minimum of 2 coats will be applied to achieve durable, consistent layer. Paints that produce a highly smooth finish, may require an additional coat also. Ceiling to be painted first, and then the walls. The surface needs to dry naturally after every coat. Water-based paints like Emulsions that are used on walls and ceiling surfaces, dry fast (in 3 – 4 hours).
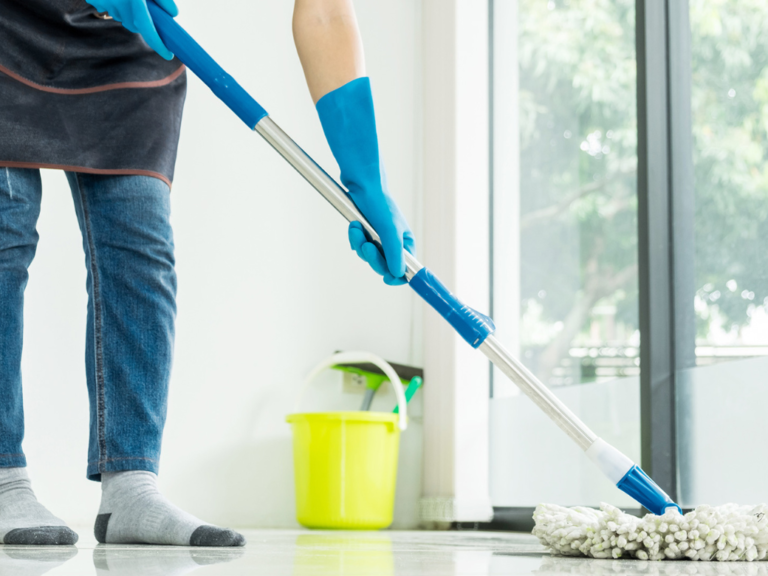
Step 6: Post-Cleaning
Post cleaning includes removing paint marks which may cause during the painting work. We always ensure proper cleaning is done, And make your place clean.
Step-1: Masking and Packaging
Before Initiating painting, we ensure that all your valuable goods (sofa, beds, TVs, Refrigerator, etc.) are protected by packaging and masking.
Step 2: Putty Base (2coat)
Filling visible cracks of walls and applying 2 coat of Birla putty on the walls to make the wall smoother before applying the primer coat.
Step 3: Vaccum Sanding
By using the Vaccum Sanding machine, we ensure the wall is evenly smooth and also reduces dust particles by 70%.
Step 4: Applying Primer Coat ( 1 Coat )
Primers help the paint stick to the surface, and thus improves paint coverage and create a uniform appearance in terms of colour and sheen. Priming can never be skipped, when using paints with a higher gloss. It is always advisable to use primer, as it increases the durability of the paint. After priming, the surface has to dry naturally for a day, before painting it over.
Step 5: Applying Paint ( 2 Coats )Paints produce that final finish and colour to the surface.
Before deciding on the product, end requirements in terms of functionality and appearance must be considered. Minimum of 2 coats will be applied to achieve durable, consistent layer. Paints that produce a highly smooth finish, may require an additional coat also. Ceiling to be painted first, and then the walls. The surface needs to dry naturally after every coat. Water-based paints like Emulsions that are used on walls and ceiling surfaces, dry fast (in 3 – 4 hours).
Step 6: Post-Cleaning
Post cleaning includes removing paint marks which may cause during the painting work. We always ensure proper cleaning is done, And make your place clean.


